Underpainting Makeup: The Technique Makeup Artists Swear By
Underpainting makeup is a celebrity-approved technique that has quickly gained popularity among both professional makeup artists and beauty lovers.
01 What Is Underpainting Makeup?

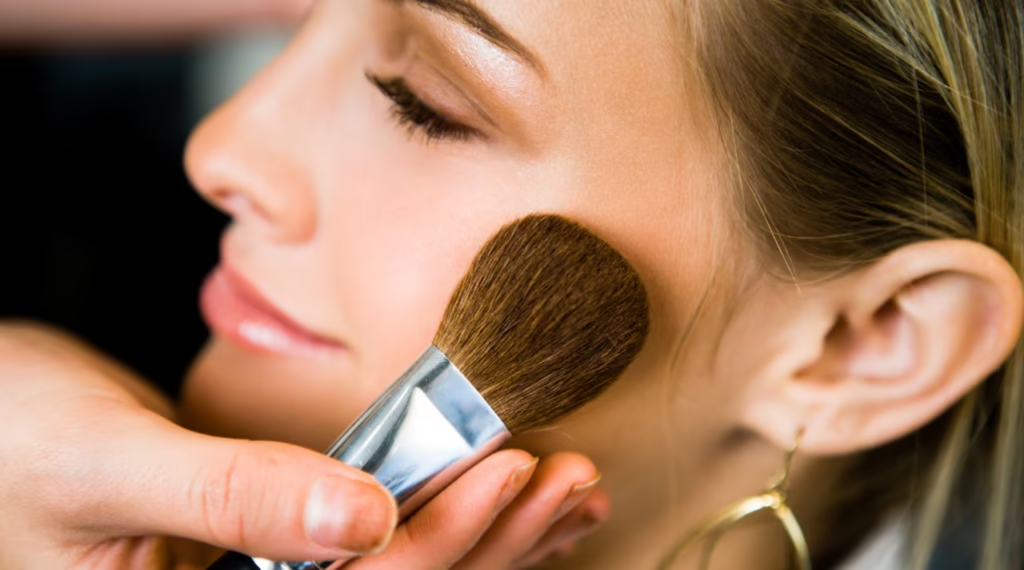
Underpainting is a makeup technique that involves applying contour, concealer, bronzer, and, in some cases, blush before foundation.
Instead of putting sculpting products over a whole base, underpainting applies them straight to the skin first. A little coat of foundation is then applied on top to soften and disperse the colors underneath.
The goal is to create:
- Natural-looking definition
- Soft contouring
- Seamless blending
- A skin-like finish
- Less obvious makeup lines
While the technique has recently gained popularity online, makeup artists have been using underpainting variations in editorial, bridal, and celebrity makeup for many years.
02 Why Underpainting Looks More Natural
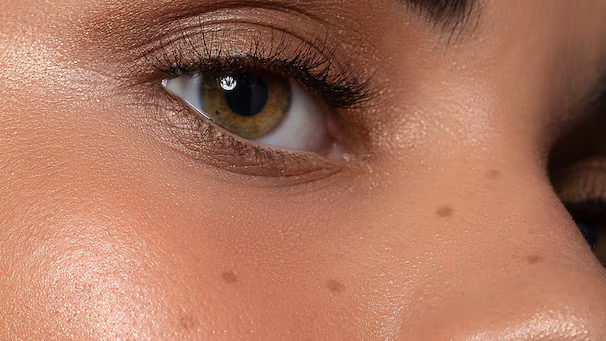
The natural finish that underpainting produces is one of the main reasons people adore it.
Particularly during the day, traditional contouring may appear harsh or excessively noticeable. By enabling foundation to function as a gentle filter over contour and blush products, underpainting helps prevent this.
Benefits include:
- Softer transitions between products
- More realistic-looking shadows
- Less heavy layering
- Enhanced skin-like appearance
- Reduced risk of muddy contour lines
- Better blendability
Because underpainting adds dimension without making it clear where the contour starts and stops, many makeup artists utilize it.
03 Products You Need for Underpainting Makeup
To try this method, you don’t need a whole new assortment of makeup.
Some commonly used products include:
Cream Contour or Bronzer
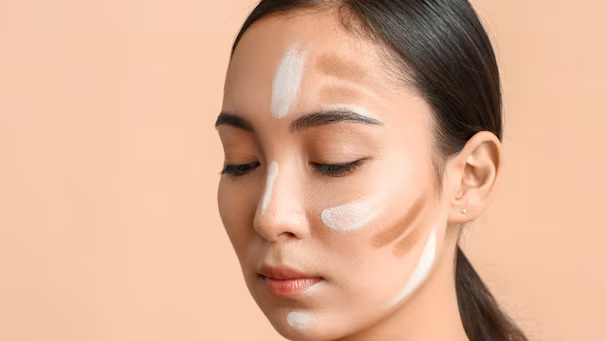
- Creates natural-looking definition
- Easier to blend beneath foundation
- Helps sculpt facial features
Concealer
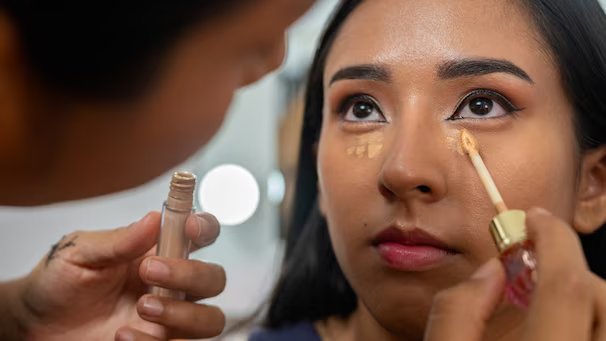
- Brightens targeted areas
- Helps balance shadows and discoloration
- Creates dimension beneath the foundation layer
Cream Blush

- Adds a healthy flush
- Blends seamlessly into the skin
- Creates a natural-looking glow
Lightweight Foundation
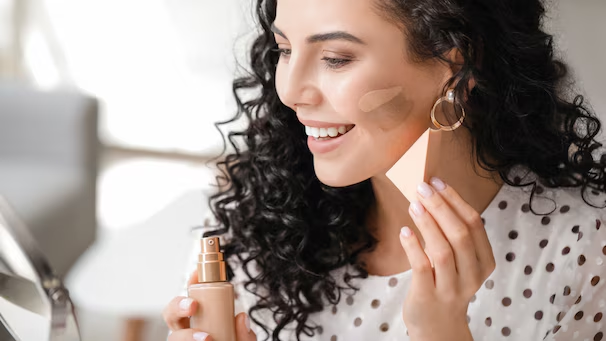
- Helps soften the products underneath
- Maintains a skin-like finish
- Prevents the makeup from looking heavy
Makeup Sponge or Brush
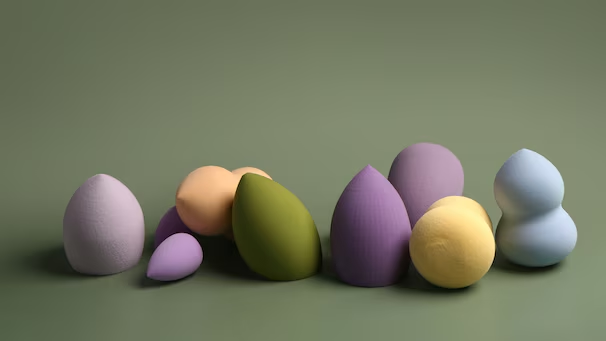
- Useful for blending layers
- Helps maintain a seamless finish
Setting Powder (Optional)

- Can help lock makeup into place
- Useful for oily skin types
Setting Spray (Optional)
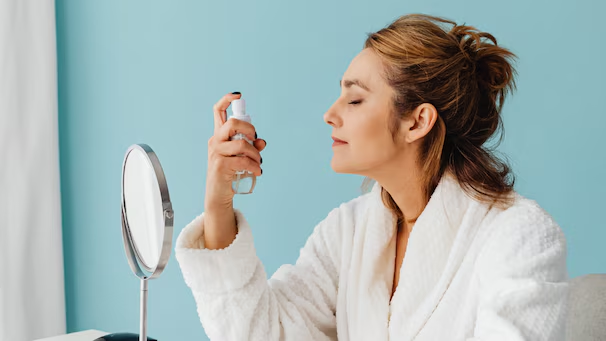
- Enhances longevity
- Helps melt layers together
04 Step-by-Step Guide to Underpainting
Are you prepared to attempt underpainting? Take these easy steps.
Step 1: Prep Your Skin
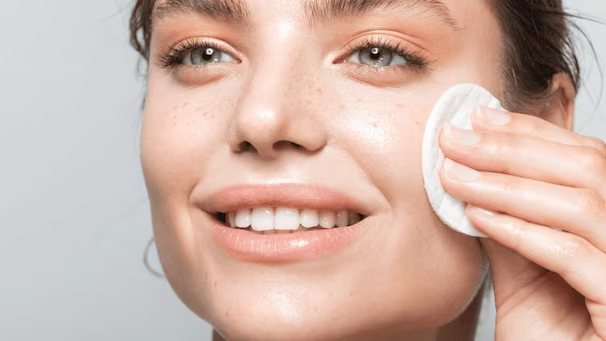
Apply sunscreen as part of your regular regimen and begin with clean, moisturized skin. If you want a smoother base, use a primer after. Preparing the skin properly makes it easier for makeup to blend in and provides the perfect surface for underpainting.
Step 2: Apply Contour First

Apply color to the hollows of the cheeks, jawline, temples, and sides of the nose—areas where natural shadows fall—using a cream contour product. To get soft definition, thoroughly blend. Subtle contouring, as opposed to clear contour lines, is the aim.
Step 3: Apply Concealer

Concealer should then be applied to the areas you wish to brighten, such as the chin, the center of your forehead, the region under your eyes, and the area around your nose. To ensure that the substance melts into the skin without changing the contour beneath, softly blend.
Step 4: Add Cream Blush

For a naturally lifted look, apply cream blush to the cheekbones and blend it up toward the temples. Before applying foundation, this phase gives the complexion a more youthful, healthy appearance by adding warmth and dimension.
Step 5: Apply Foundation Over Everything
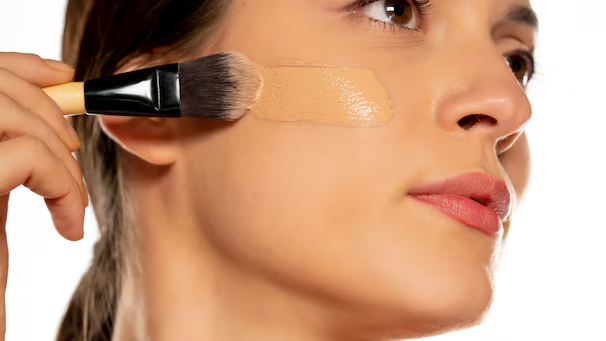
This is the crucial underpainting stage. Cover the contour, concealer, and blush with a thin coat of foundation using a brush or sponge.
Step 6: Build Coverage If Needed
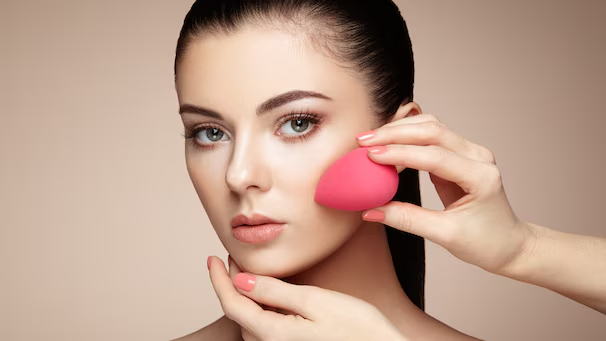
If you want extra coverage, apply concealer or foundation sparingly. Building coverage keeps makeup from seeming heavy while progressively preserving the natural depth produced by the underpainting method.
Step 7: Set Your Makeup
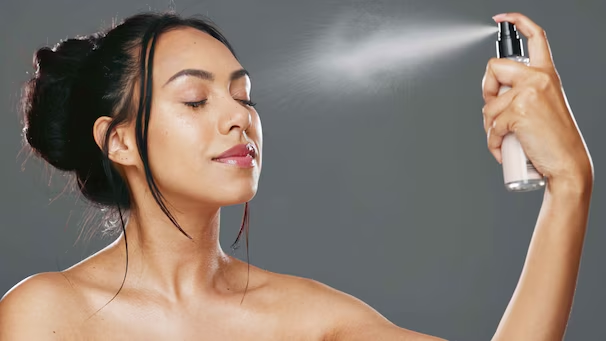
Lastly, use a setting spray and, if necessary, a small dusting of powder to set your makeup. This keeps everything in place while maintaining the smooth, realistic-looking finish that underpainting is so well-liked.
05 Who Should Try Underpainting Makeup?
It could be worthwhile to investigate underpainting if you:
- Prefer natural-looking makeup
- Enjoy soft glam aesthetics
- Want contour that looks less obvious
- Like lightweight base makeup
- Want a skin-first approach to beauty
- Struggle with harsh contour lines
- Prefer a more seamless finish
- Enjoy experimenting with new techniques
Numerous skin types and makeup looks can use it.
06 Common Mistakes to Avoid
Underpainting has a learning curve, just as any other technique.
Steer clear of these typical errors:
- Applying too much contour initially
- Choosing contour shades that are too dark
- Using a full-coverage foundation that’s too heavy
- Over-blending until products disappear
- Applying thick layers of foundation
- Skipping skin preparation
- Using powders too early
- Rushing the blending process
The best results are typically obtained with a gentle hand.
07 Expert Tips on Underpainting
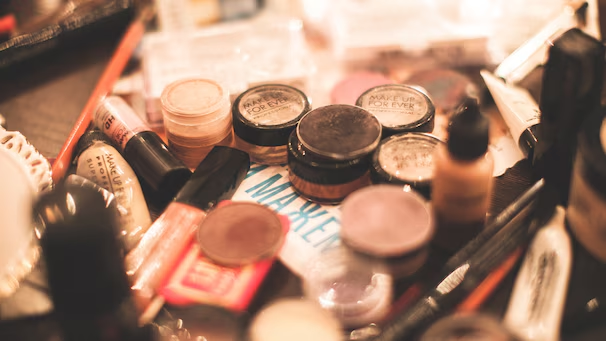
Expert makeup artists frequently suggest the following:
- Use cream products for easier blending.
- Start with less product than you think you need.
- Build intensity gradually.
- Choose lightweight, skin-like foundations.
- Blend each layer individually.
- Use a damp sponge for a seamless finish.
- Focus on strategic placement rather than heavy application.
- Match foundation carefully to your skin tone.
- Practice the technique a few times before special occasions.
- Let your natural skin texture show through for the most realistic result.
08 Why Underpainting Has Become a Viral Beauty Trend
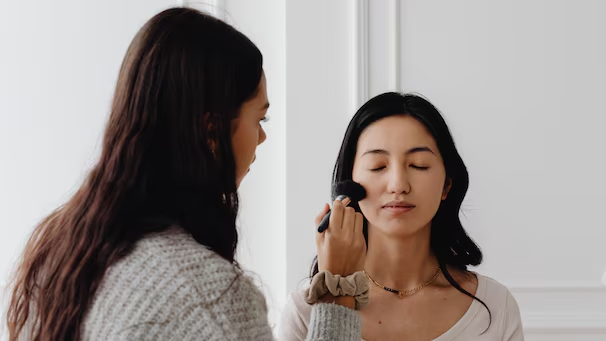
The popularity of underpainting is in line with modern aesthetic tastes. Customers are adopting methods that accentuate natural skin instead of using thick, full-coverage cosmetics.
This trend has been propelled by beauty creators showcasing how underpainting produces a sculpted yet effortless appearance on social media. It’s easy to understand why the method is still gaining traction when you consider the rising popularity of “clean girl” makeup and soft glam looks.
Underpainting is also preferred by many celebrity makeup artists since it looks natural in person while taking stunning pictures, a balance that’s not always simple to accomplish.
09 Conclusion
Although underpainting cosmetics may appear unusual at first, its increasing appeal stems from one important benefit: it adds a natural-looking dimension without requiring a lot of layering. The method makes it possible for makeup to blend more smoothly into the skin by applying contour, concealer, and blush before foundation, producing a softer and more realistic finish.
Underpainting makeup is a flexible technique that can improve your routine, regardless of whether you’re a beauty aficionado looking for a more sophisticated contouring technique or a makeup novice eager to experiment. It’s simple to see why makeup artists still swear by this method with the correct supplies, a gentle touch, and some skill.